
Preferences is the gateway to making various customizations throughout Paragon. This is your opportunity to set up the system in a way that will work best for the way you work. This page focuses on the highlights of what you can customize with System Preferences.
JUMP TO A SECTION:
Market Monitor Filters
The Market Monitor is on the home page and can be customized directly from the tool itself. Check out the video and instructions here.
Search Options
This section allows you to customize how you search. Be sure to click the "Save" button at the top of the page if any changes are made.
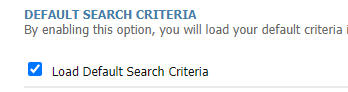
Default Search Criteria: If every time you run a search, Paragon automatically loads a previous search that you've run and you do not prefer that, check this box. This will tell the system you want the default to load each time.
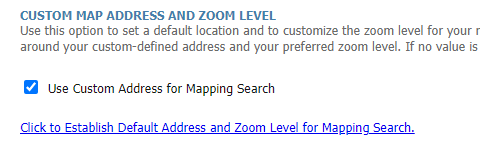
Custom Map Address and Zoom Level: the default starting location for the map is your office location. If you would like for the map to center at a different location check this box and click the hyperlink. This will open to the map allowing you to set the new location and set a preferred zoom level.
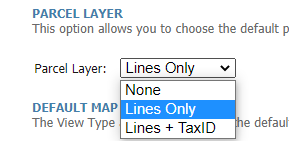
Parcel Layer: this is a layer that can be manually activated on the map to show the property lines for every parcel across the map. If you prefer parcel lines on, select "Lines Only" from the drop-down. With this set, you will save yourself the time of manually turning parcel lines on whenever you're on the map.
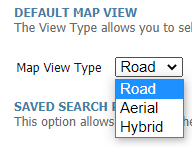
Default Map View: when reviewing the map, the MLS default is "Road" and you may manually switch the view to Aerial (straight, overhead) or Hybrid (Aerial view that includes street names and points of interest). If you prefer to view the map in Aerial or Hybrid view, make the selection from the drop-down menu.
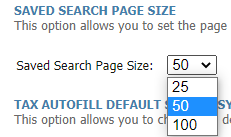
Save Search Page Size: if you have a lot of saved searches, when you view them it may be helpful to set this drop-down menu to 100, which is the maximum amount of saved searches that can be viewed on a single page.
Result Options
This section focuses on setting new defaults related to how you review various types of search results. Be sure to click the "Save" button at the top of the page if any changes are made.
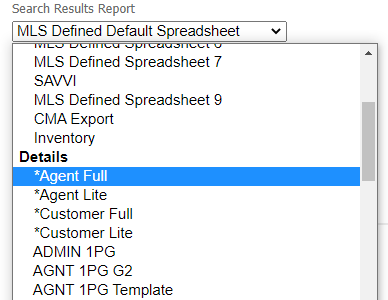
Search Results Report: whenever you click search from a search template or review results from the Market Monitor, you will land on the spreadsheet. If you often select a different report to review listings, set that here as the new default by opening the "Default search result view" drop-down menu and selecting your preferred view.
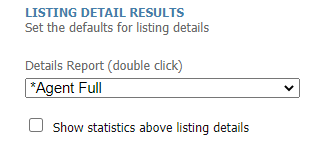
Details Report (double click): from the spreadsheet, you can click a listing and it will navigate you to a new view. This will also update the "preview" you see when you preview your listing in listing maintenance. Choose a default from the drop-down menu. Check the box beneath to include stats on the detail report, as well.
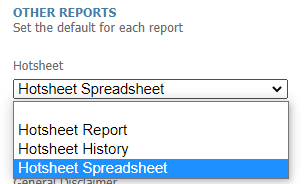
Default Hotsheet Result: if you use the Hotsheet search, you have 3 views to choose from as a default. What is set for you is the "Hotsheet Spreadsheet," but if you often jump to a different hotsheet report, you can set that as the default.
Default Manual Email Report: when you email listings, you can have a default report selected. What report view do you email most often? Set that here as your default.

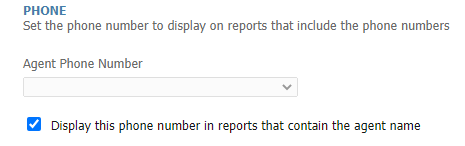
Display Phone Number and Preferred Phone Number: a phone number will be selected by default for display on report views; what phone number displays is up to you. Choose a phone number from the "Agent Phone Number" drop-down menu. If the phone number you want to display is not available for selection, that is because it is not in your member profile. Click here to learn how to update your member profile. Checked by default is the "Display phone number in reports that contain agent name" box so that whatever number you select will display on report views.
User Interface
This section focuses on changing your view of some sections of Paragon. Be sure to click the "Save" button at the top of the page if any changes are made.
Select A Theme: the default "theme" for Paragon is a blue header. Open the drop-down menu to switch it up! Change the color or change it based on the season or a favorite regional area! This is especially helpful for admins and other users who make use of Assume Identity. You can set your page to a different color so you can easily recognize in a single glance that you are in your account or someone else's account.
Select different themes and Paragon will change immediately so you can test the theme; run the mouse over the header, as some themes mean the menu items will change. Theme changes are not saved, though, until you click "Save."
Advanced Menu Layout: if you are a newer member who is not yet familiar with all of the buttons in Paragon, the recommendation is to leave this unselected. Checking this box will remove the words associated with the button, leaving only the symbol. It condenses command bars for a simplified look, but can be confusing if you are not fully accustomed to the system. See the below images illustrated the difference.
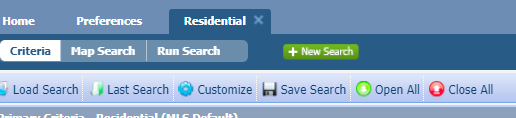 | 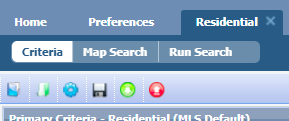 |
Command Bar without "Advanced Menu Layout" checked | Command Bar with "Advanced Menu Layout" checked. |