Preferences is the gateway to making various customizations throughout Paragon. This is your opportunity to set up the system in a way that will work best for the way you work. This page focuses on the highlights of what you can customize with User Preferences. To access these features, start with the Preferences menu, then select "User."
JUMP TO A SECTION:
Office Logo
The office broker or office admin can upload an image that will trickle down to the other members of the office. Those who are not in the role of office broker or office admin will not have the ability to add a photo to this section. The office logo will display on report views, Collaboration Center emails, and in the Collaboration Center.
1. Adding an Office Logo - for office brokers/office admins only
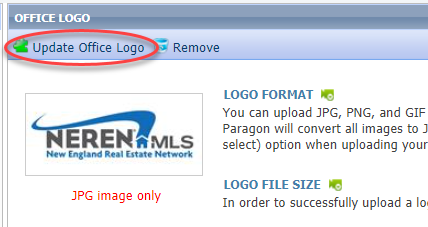
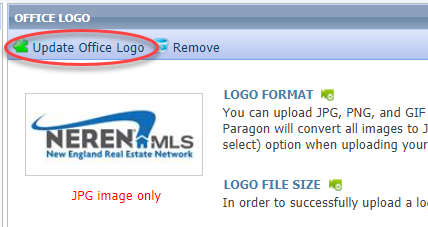
Click "Update Office Logo"
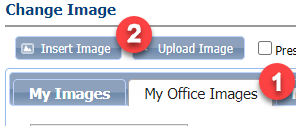
In the pop-up modal, click the "My Office Images" tab.
Click "Upload Image."
In the next modal, click "Add Files," which will open the file browser on your computer for you to find and select the image.
Once the image has been selected, click "Start Upload."
When the image is uploaded, select it so it is highlighted orange, then click "Insert Image."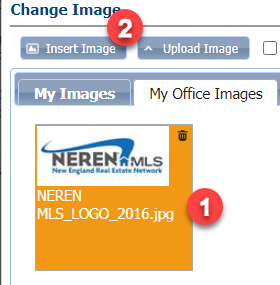
In the pop-up modal, click the "My Office Images" tab.
Click "Upload Image."
In the next modal, click "Add Files," which will open the file browser on your computer for you to find and select the image.
Once the image has been selected, click "Start Upload."
When the image is uploaded, select it so it is highlighted orange, then click "Insert Image."
2. Inserting an Office Logo - for agents to switch the logo their Office Broker/Admin added
If your broker has added an office logo for the office, it will display for you automatically, but if they've uploaded options, you can select the logo you want.
Click "Update Office Logo"
In the pop-up modal, click the "My Office Images" tab.
Select the photo from the options so it is highlighted orange, then click "Insert Image.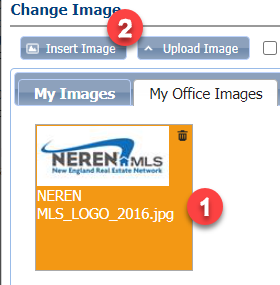
In the pop-up modal, click the "My Office Images" tab.
Select the photo from the options so it is highlighted orange, then click "Insert Image.
Agent Image
You can upload an image of yourself to display throughout Paragon. The image you set here will display on report views, when other members look you up in the system, in the Collab Center and on Collablink and Collab Center emails, and can be displayed in several part of the CMA.
1. Adding an Agent Image
Click "Update Photo"
Click "Upload Image."
In the next modal, click "Add Files," which will open the file browser on your computer for you to find and select the image.
Once the image has been selected, click "Start Upload."
When the image is uploaded, select it so it is highlighted orange, then click "Insert Image."
Repeat this process to upload multiple images if you want to be able to change the photo for different sections.
2. Uploading an Agent Image
Click "Update Agent Image"
Select the photo from the options so it is highlighted orange
Click "Insert Image."
Mobile Account Settings
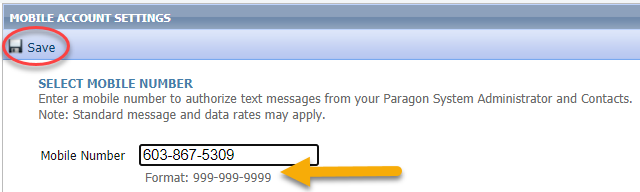
This section enables the ability to text message listings. In order to be able to text message listings to contacts, you must have your cell phone entered here. Enter your phone number into the text box, following the format of 999-999-9999. Click "Save" at the top.