Every search class in Paragon has a default template with set fields. Agents can create unlimited custom searches by adding, removing and rearranging fields. Those templates can then be saved for their own use or for a contact. These instructions cover how to create a customized search template and save it for agent use. Refer to the Create a Contact page for instructions on saving searches for contacts.
Customizing, Saving & Accessing Searches
Customizing & Saving a Search
Step 1: Open a search
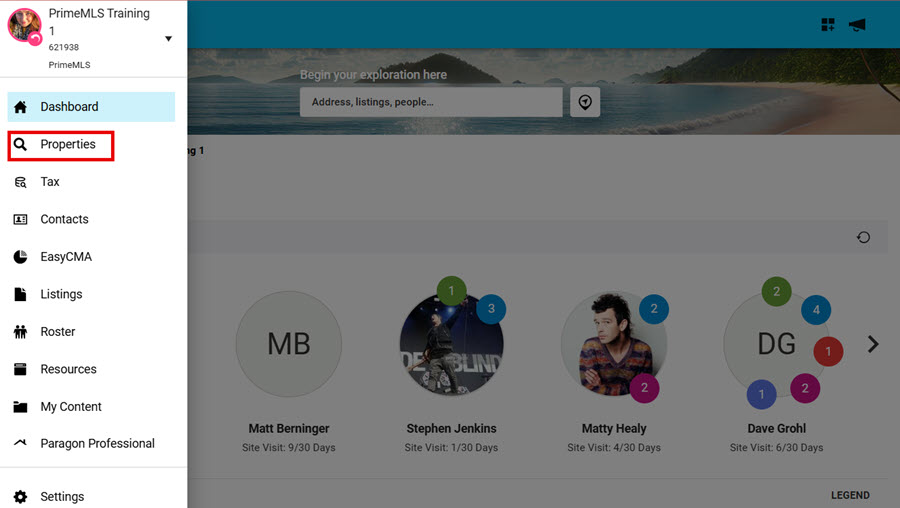
Go to the top Left corner Hamburger menu from your Paragon Connect Dashboard
Click on "Properties"
Choose a property class
TIP: If you do not want to make changes to the Default Search Template: in the top right corner, click on the "disk icon/Save", give the search template a new search name, and click "Save". You will see the new search name in the top left corner and can proceed to customize by adding containers, adding and removing fields, and rearranging how fields display on the search template.
Step 2: Add Containers
Containers help to organize your search template. By default, there are 2 containers on your search template: primary criteria and dates criteria. This is not required for customizing, but it's a great option if you like fields that work together to be contained in the same section of the search template.
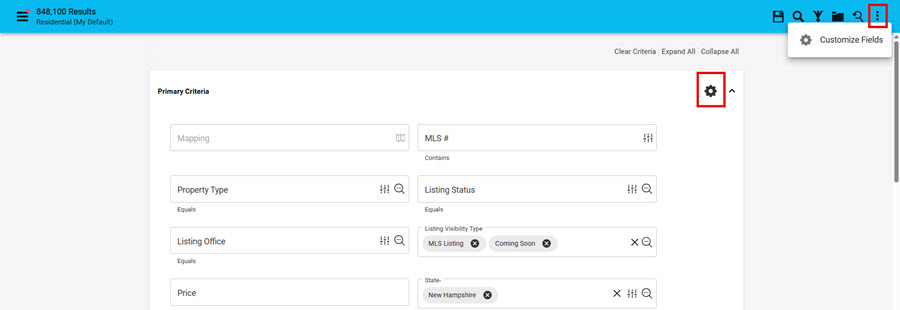
When the search template opens, click on the top right corner "snowman" menu and select "Customize Fields", or click on the "gear icon" in the top right corner of your Primary Criteria container.
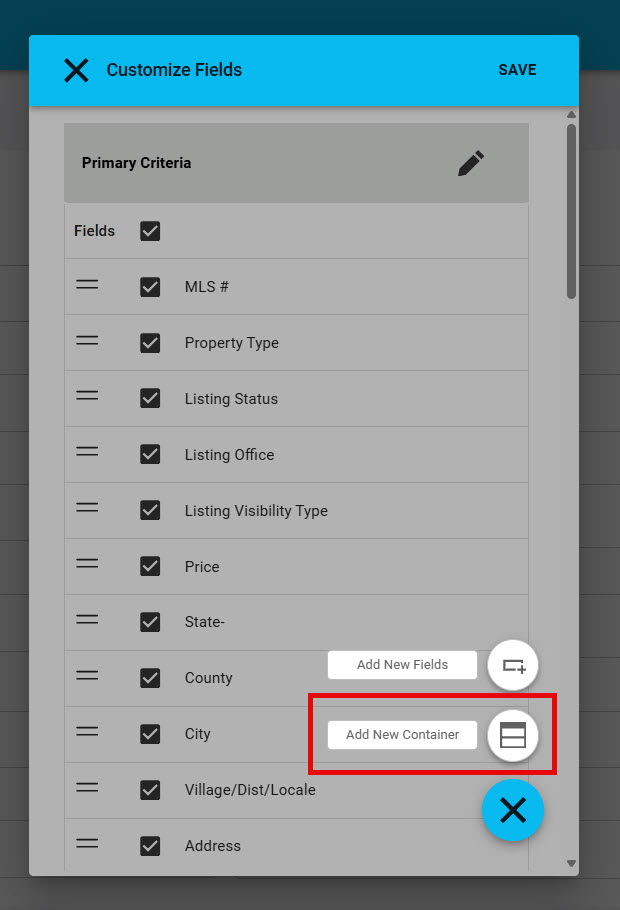
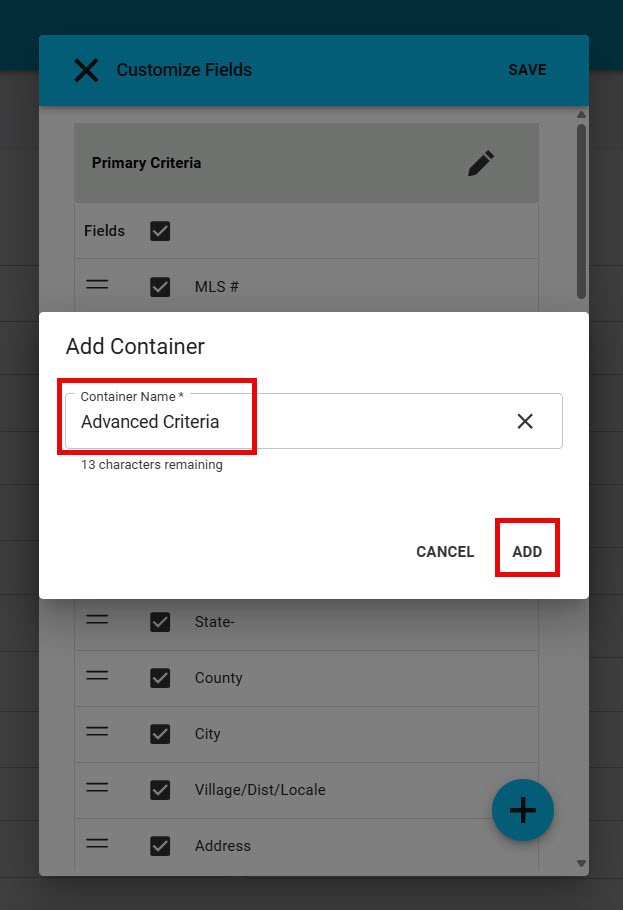
From the pop-up, click on the "+" and select "Add New Container"
Type in "Container Name" and click "Add"
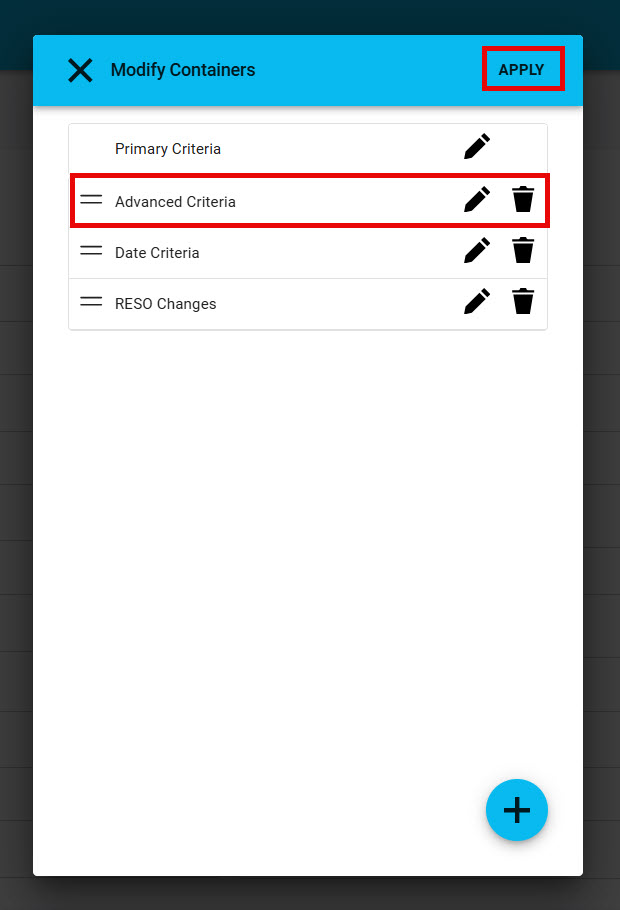
"Click, hold and drag" containers to rearrange the order they appear in the Search Template and click "Apply"
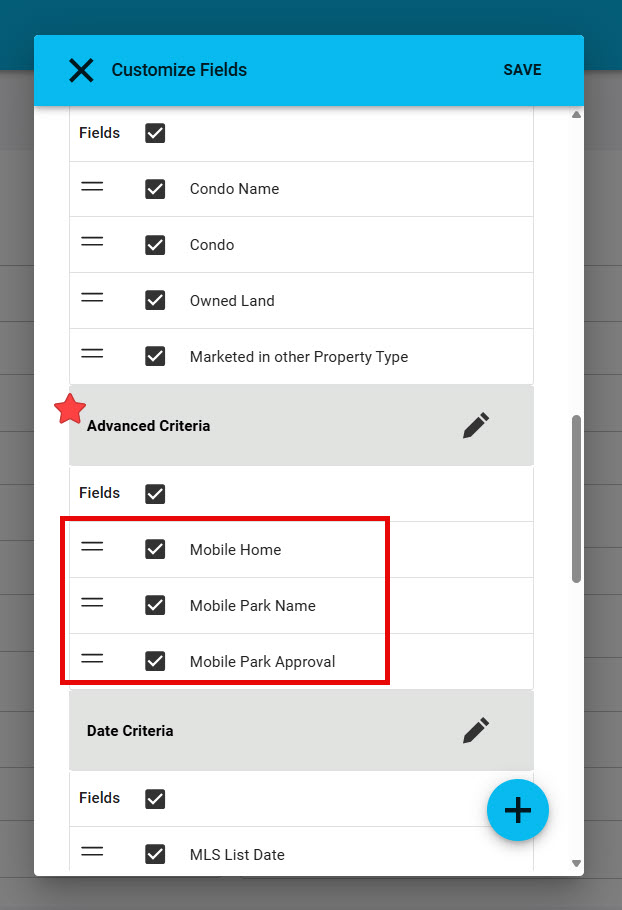
Fields can be "dragged" from other containers to customize the search teamplate and new fields can be added and placed in any contrainer. Click "Save" once current fields on the search template are rearranged to your liking.
Step 3: Customize the Search Template with New Fields
Click "Customize Fields" from the top right corner "snowman" menu or the "gear icon" in the top right corner of any container.
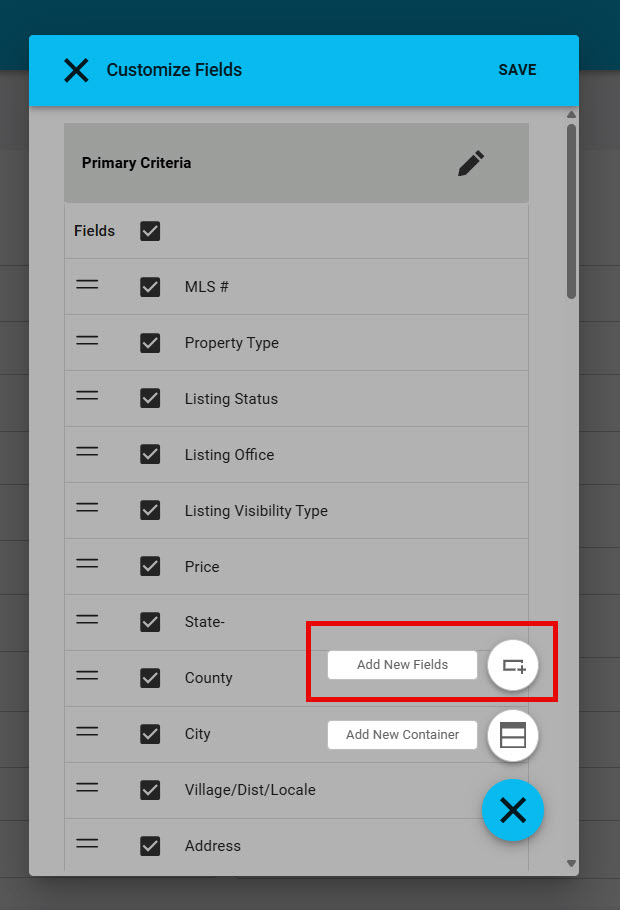
From the pop-up, click on the "+" and select "Add New Fields".
Adding Fields
Scroll through all the field options that can be added or use the "Search Fields" to quickly and easily find the field to be added.
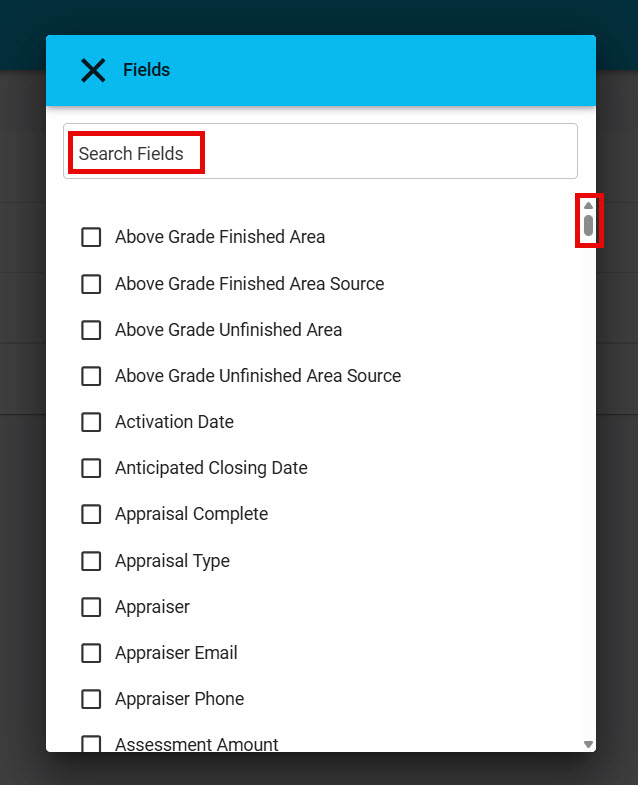
Select field to be added, which container it should be added to, then click "Add".
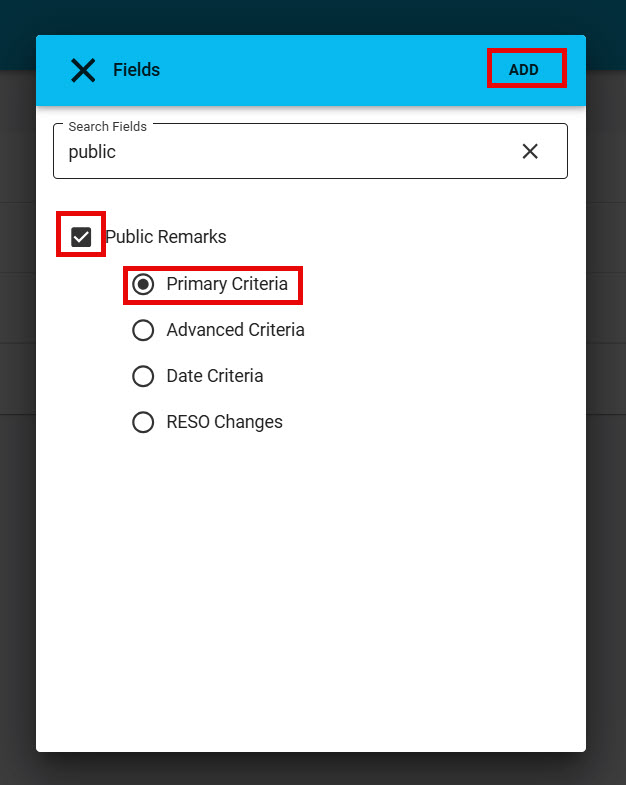
The selected field will always be added to the bottom of the container selected and can be rearranged to your liking.
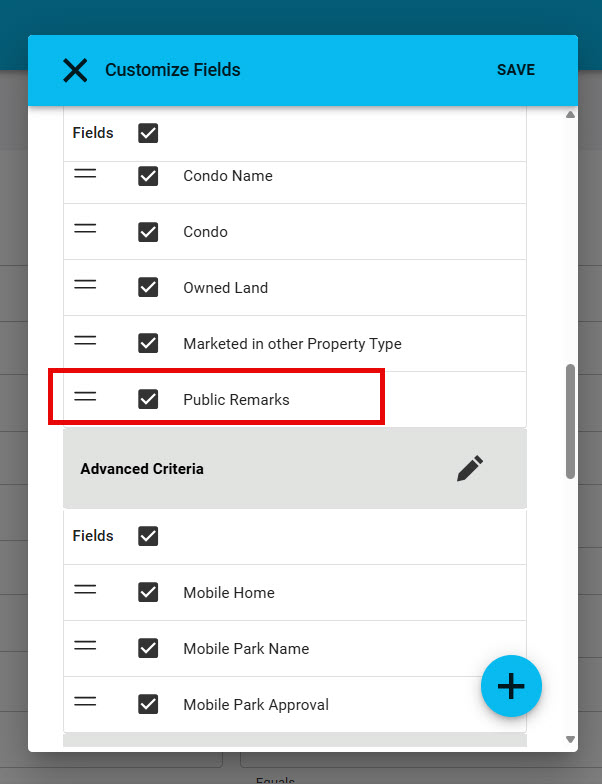
Removing Fields
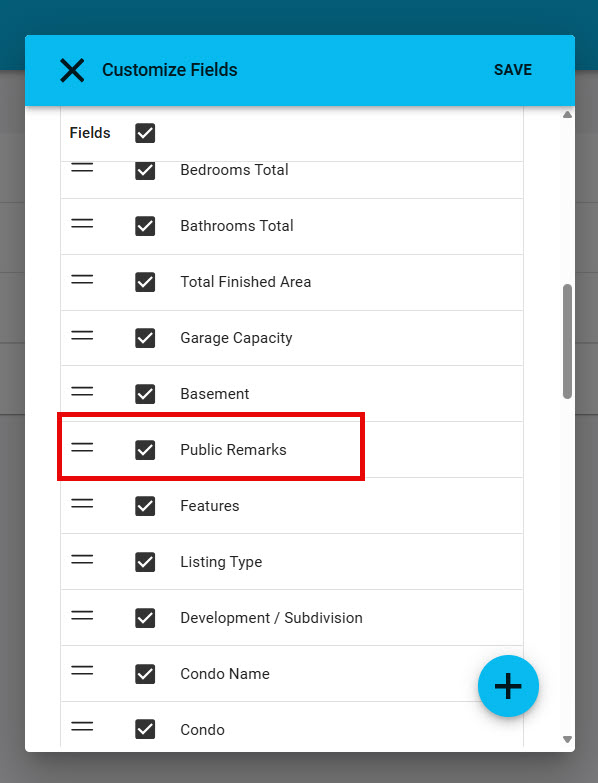
Remove any fields you don't want or need by "unchecking" them from the Customize Fields pop-up.
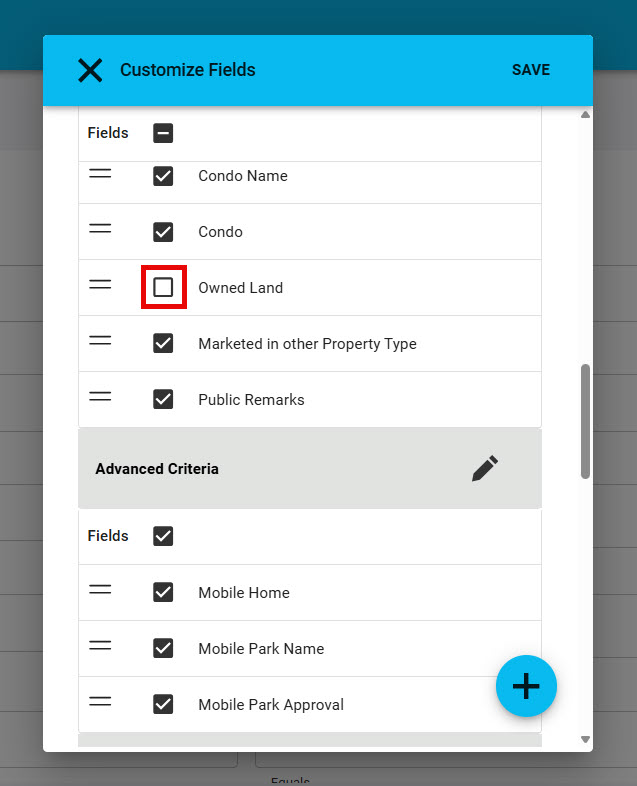
Rearranging Fields
Click, hold and drag any single field to rearrange where it shows on the search template.
Step 4: Saving Search Templates
Option 1: Save
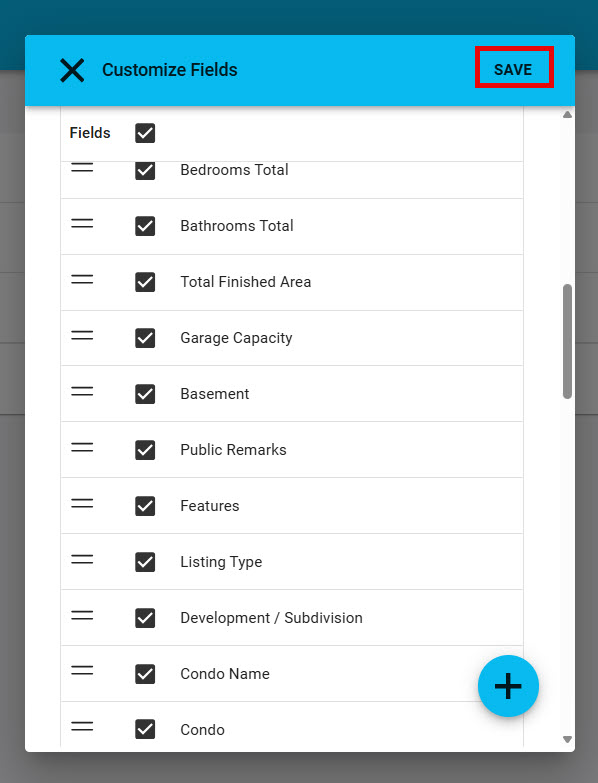
Click "Save" in the top right corner of the Customize Fields pop-up will save all changes made to the search template.
Accessing Saved Searches
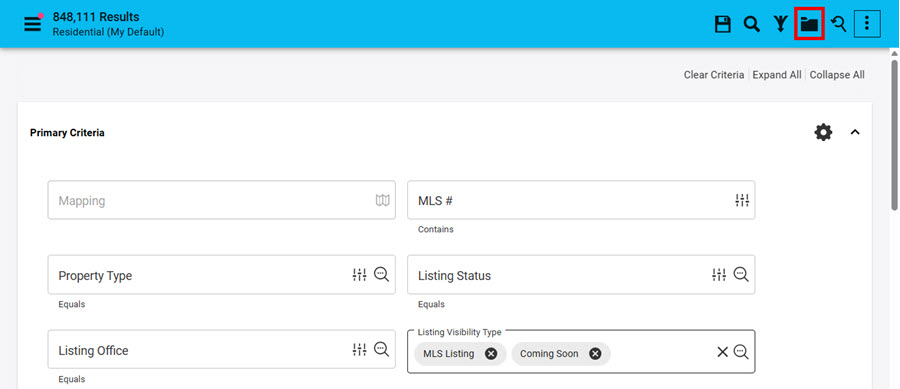
To access your saved searches, click on the top right corner "file folder/my saved searches" to view saved searches. This will open all of the saved searches you have for that class.
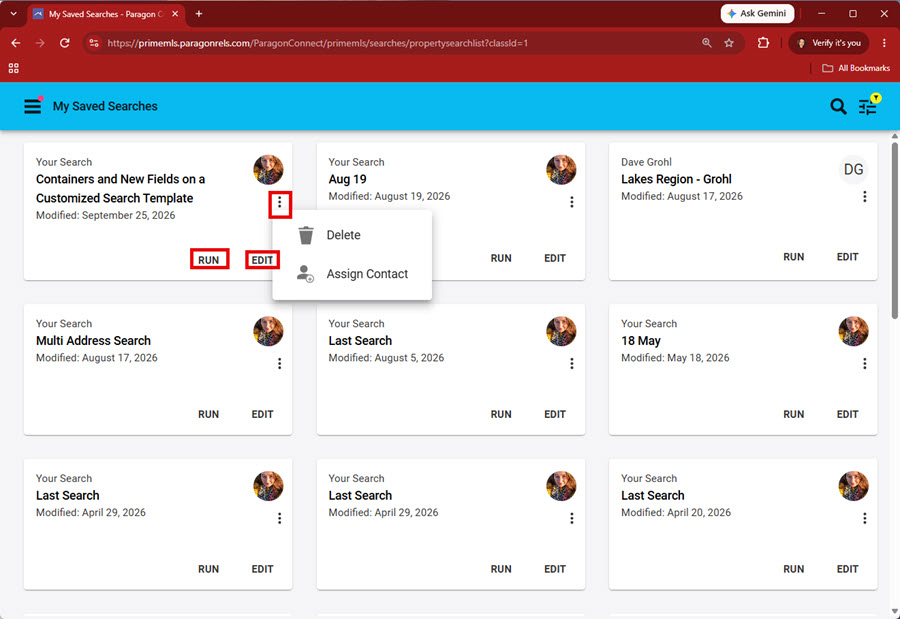
From the saved search card, click on "Run" to go directly to results or "Edit" to go to the search template. You can also "Delete" search or "Assign Contact" from the "snowman" menu.