
All types of contacts can be added into Paragon. You can add all of your professional contacts and anyone who will need automatic emails for the Collaboration Center! You may add contacts singularly in Paragon or upload them from your email service.
CHOOSE HOW TO ADD A CONTACT
Creating a Contact in Paragon
Step 1: Go to Contacts
Click the Contacts menu in Paragon.
- Choose "Add Contact."
Step 2: Enter Information
Enter all the information you have for this contact.
First Name and Last Name are required to save a contact
Email address is required to save a contact with the Collaboration Center.
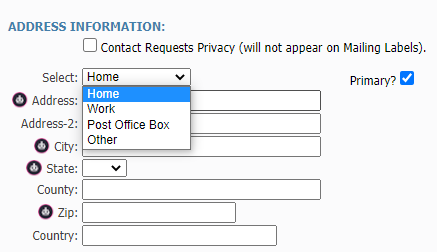
Up to 4 Addresses can be entered
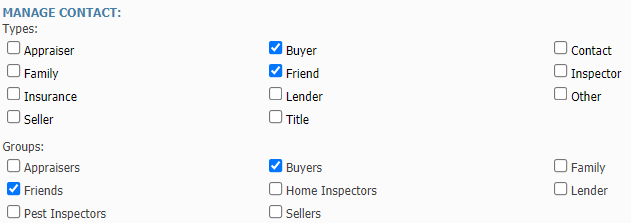
Step 3: Types and Groups
- Groups and types help you to sort your contacts.
- Groups must first be created. Click here for instructions.
- Select the groups and types and you'll be able to sort your contacts accordingly when viewing your full list of contacts. Plus you can bulk email groups and create mailing labels for types.
Step 4: Enable Reverse Prospecting
If this contact will be set up with the Collaboration Center, you may wish to include them in Reverse Prospecting. This feature allows list agents to review their own inventory and see if, for example, your contact has matched to their listing. This means that the agent's listing is in your contact's Collaboration Center.
To enable, check the "Reverse Prospecting" box.
Enter an "Alias." The Alias is how your contact will be identified by other agents. When the agent reviews their inventory, they'll see your name, your email, your phone number, and whatever you have entered for an alias. This allows the list agent to contact you and inform you that one of your contact's has matched to their listing. You can use the Alias to figure out who the contact is. The Alias can be anything! For more on reverse prospecting, click here.

Step 5: Save
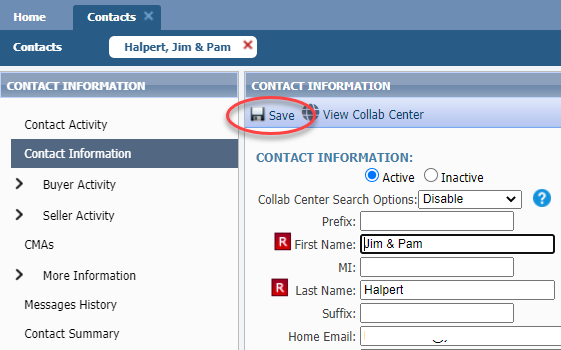
Once all information is entered, click "Save" at the top.
The screen will refresh and you'll have additional options in the menu on the left.
Uploading Contacts from Outlook
Step 1: Formatting
Take your file of Outlook contacts and ensure the columns that will upload are in the following order: Name, Email, Phone.
The Name column must be First and Last Name together in 1 column.
Ensure the file is saved as a .CSV (or Comma Separated Value) file.
Step 2: Upload into Paragon
In Paragon, choose the "Contacts" menu.
Select "View/Manage Contacts."
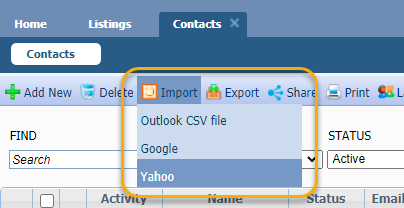
Click "Import" and choose Outlook CSV file.
You can choose to Merge, Replace or Skip duplicate contacts. Selecting "Merge" will merge the contact saved with the new information you are adding from the upload. "Replace" will remove the one currently saved in Paragon and replace it with the duplicate uploading from the file. "Skip" will skip the contact entirely from the file. Make your selection, then click "Upload file."
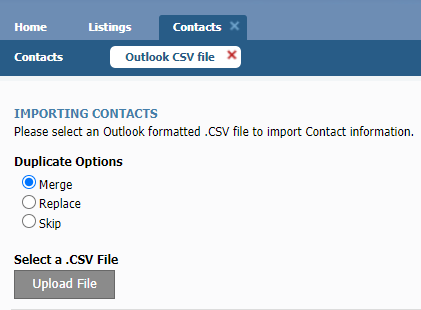
- Contacts will load and you'll receive a notification if any could not be added.
Uploading Contacts from Google
Step 1: Begin upload
In Paragon, choose the "Contacts" menu.
Select "View/Manage Contacts."
Click "Import" and choose "Google."
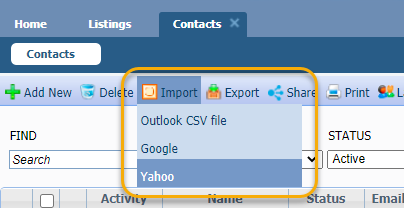
Step 2: Follow steps
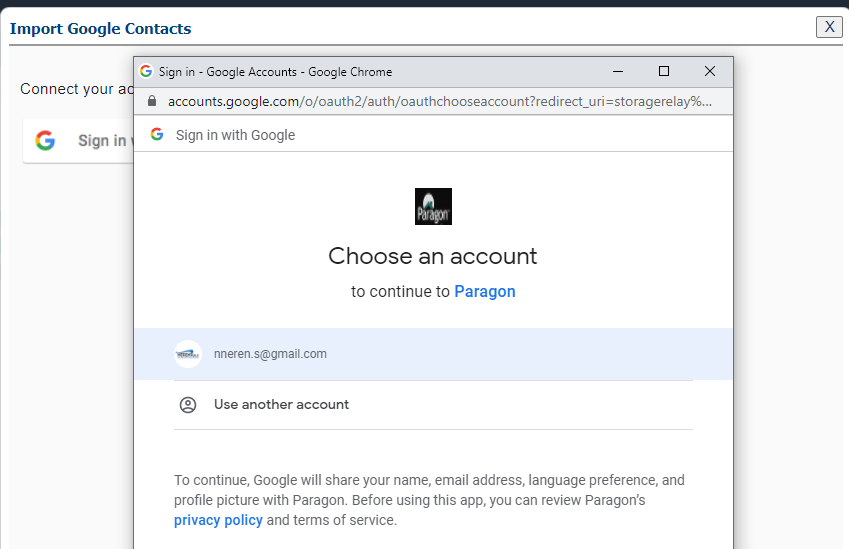
A pop-up will appear for your to sign in to your Google account. Click the button and sign in.
Another pop-up will appear with the email address. Select it.
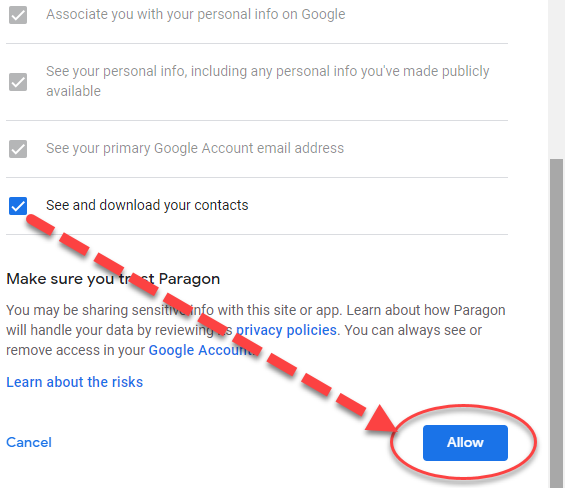
Next, you'll have to grant permission for Paragon to see and download your contacts. Click "Allow."
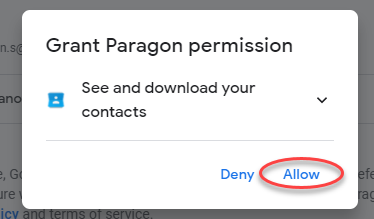
You'll be asked to confirm once more by clicking "Allow."
In the pop-up, the list of contacts from your Gmail account will be generated.
- Follow the prompts to complete the upload.